 FLASHLOOK.AI
Mastering Flashlook: Save and Reuse Shoot Presets for Consistent Catalog Art Direction
Learn how Flashlook shoot presets can revolutionize your fashion photography workflow. Save your preferred scene, style, and prompt settings to apply a consistent art direction across all your product SKUs, ensuring a cohesive brand image with ease.
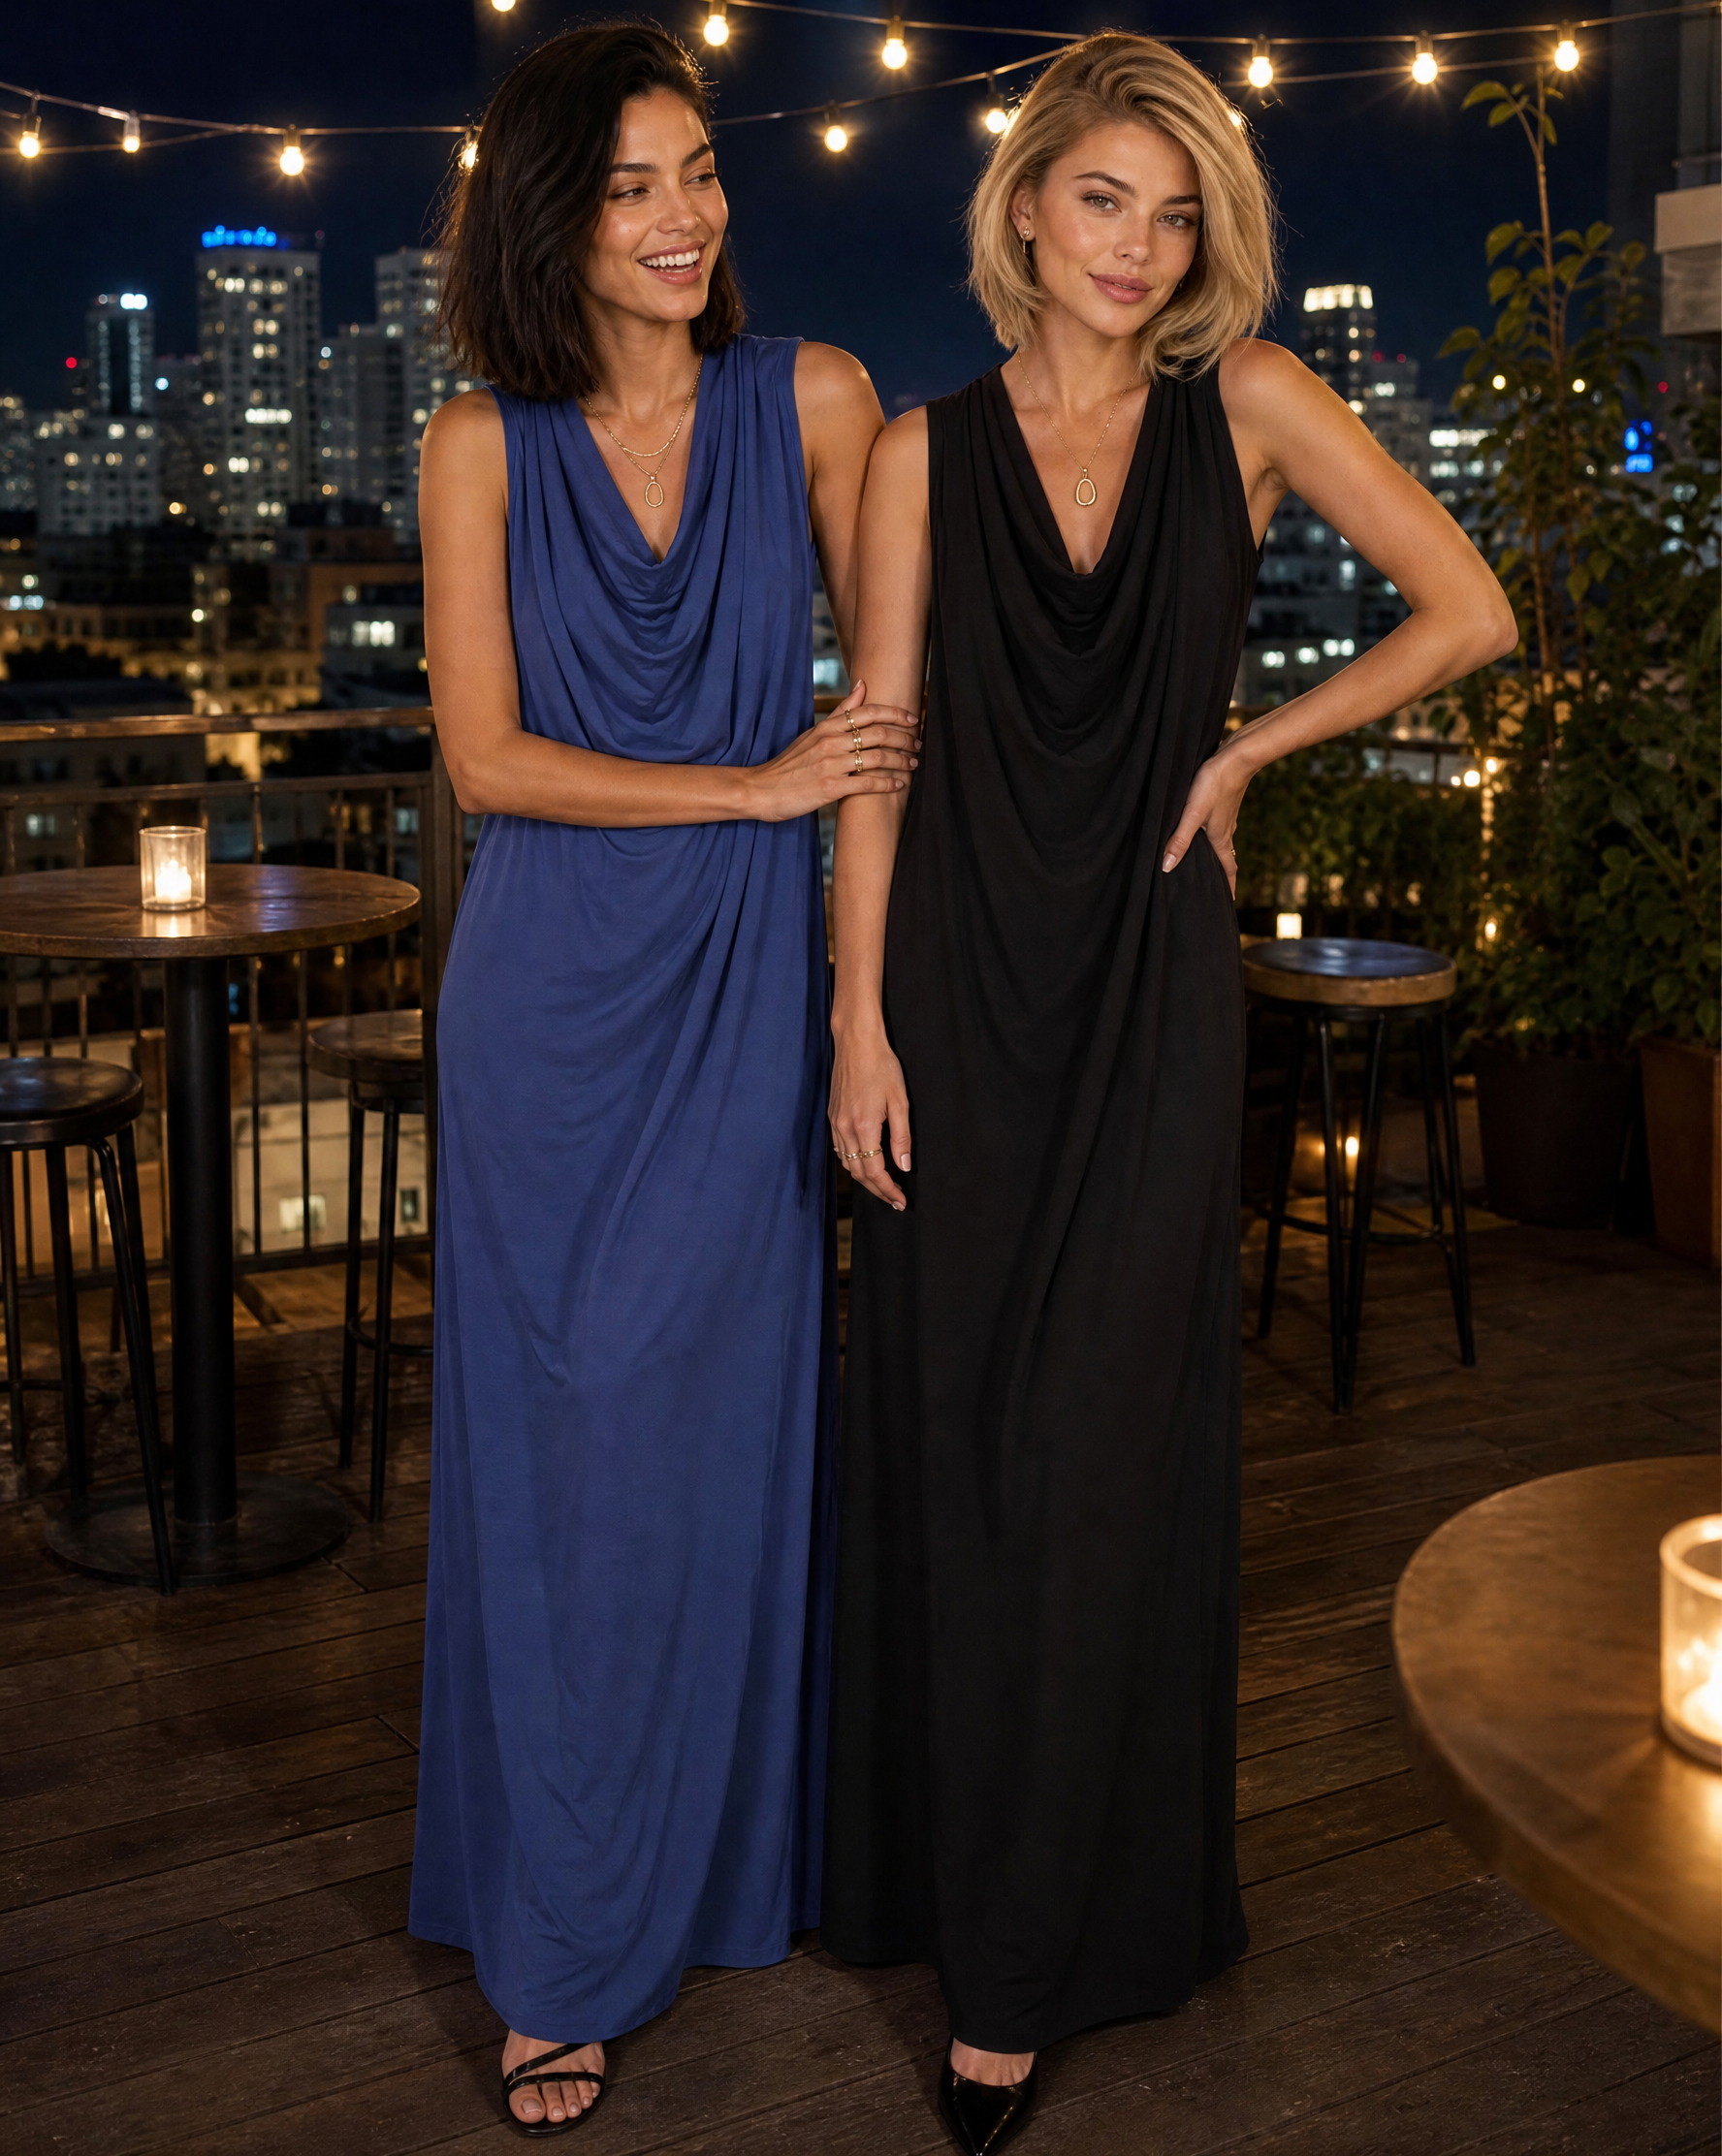
In the fast-paced world of fashion e-commerce, maintaining a consistent brand image across all product photography is paramount. From lighting and background to model pose and overall aesthetic, every detail contributes to your brand's story. Flashlook's powerful preset feature is designed to streamline this process, allowing you to save your ideal shoot settings and apply them effortlessly to an entire collection of products.
This guide will walk you through the simple steps to create, save, and reuse Flashlook shoot presets, ensuring your fashion catalog always reflects a unified and professional art direction.
Why Use Flashlook Shoot Presets?
Imagine you've perfected a stunning visual style for a new product launch - the ideal lighting, a captivating backdrop, and a specific mood conveyed through your prompt. Without presets, replicating this exact look for dozens or even hundreds of other products would be a tedious, time-consuming, and error-prone task. Flashlook presets eliminate this challenge, offering several key benefits:
- Unwavering Consistency: Guarantee the same art direction across all your product shots, reinforcing your brand identity.
- Massive Time Savings: Apply complex setups with a single click, drastically reducing the time spent on individual product shoots.
- Reduced Rework: Minimize the need for post-production adjustments caused by inconsistent initial captures.
- Enhanced Collaboration: Share established looks across your team, ensuring everyone adheres to brand guidelines.
- Scalability: Easily expand your product catalog while maintaining high-quality, consistent visuals.
Understanding What a Preset Captures
A Flashlook preset is more than just a filter; it's a comprehensive snapshot of your creative choices within the platform's atelier. When you save a preset, you're essentially capturing:
- Scene Settings: This includes your chosen background, environment, and lighting conditions.
- Style Parameters: Any specific aesthetic choices, color grading, or photographic styles you've applied.
- Prompt Details: The textual instructions given to the AI to guide the image generation, influencing model pose, mood, and overall composition.
By bundling these elements, Flashlook allows you to recreate an entire visual concept with precision.
Step-by-Step Guide: Creating and Saving a Flashlook Preset
Creating your first preset is straightforward. Follow these steps to capture your desired fashion shoot style:
Step 1: Navigate to the Atelier and Start a New Shoot
Begin by logging into your Flashlook account and heading to the Atelier. This is where all the magic happens. Select a product you wish to photograph and choose your virtual model.
Step 2: Define Your Art Direction
This is the creative core of your preset. Experiment with Flashlook's extensive options to craft your ideal look:
- Choose Your Scene: Browse through various backgrounds, from studio setups to outdoor environments. Consider the mood you want to convey and how it complements your product.
- Adjust Lighting: Fine-tune the lighting to highlight product details and create the desired ambiance. Think about natural light, studio strobes, or dramatic shadows.
- Select a Style: Apply a photographic style that aligns with your brand's aesthetic - perhaps a minimalist look, a vibrant editorial feel, or a classic commercial style.
- Craft Your Prompt: Write a detailed and descriptive prompt. This is crucial for guiding the AI. Specify model pose, expression, garment presentation, and overall mood. For example: "Full body shot, confident pose, model looking at camera, soft natural light, urban street background, wearing a flowing silk dress."
Take your time to generate a few images until you achieve a result that perfectly embodies the look you want to save.
Step 3: Save Your Settings as a New Preset
Once you're satisfied with your generated image and the settings that produced it, locate the "Save Preset" option within the Atelier interface. You'll typically find this near your scene, style, or prompt controls.
Step 4: Name Your Preset
A clear, descriptive name will help you easily identify your presets later. Consider names that reflect the style or purpose, such as "Minimalist Studio Look," "Summer Editorial Vibe," or "Classic E-commerce White Background."
Step 5: Confirm and Store
After naming, confirm your selection. Your new preset will now be saved and accessible from your "Presets" library within the Atelier.
Applying Presets for Consistent Catalog Art Direction
Now that you've created a preset, applying it to your other products is incredibly simple, making batch product shoots a breeze.
Step 1: Start a New Shoot for a Different SKU
Return to the Atelier and select a new product (SKU) you wish to photograph. You can even use the same virtual model if you've established a locked identity model for ultimate consistency across your catalog.
Step 2: Access Your Saved Presets
Within the Atelier, look for the "Load Preset" or "Apply Preset" option. This will open your library of saved Flashlook shoot presets.
Step 3: Select and Apply
Choose the preset you wish to apply from the list. With a single click, all the scene, style, and prompt settings from that preset will be instantly loaded into your current shoot. You'll see the Atelier's controls update to reflect the chosen preset's parameters.
Step 4: Generate Your Image
With the preset applied, simply generate your image. The AI will produce a new photograph for your current product, adhering to the exact art direction you saved previously. Repeat this process for all your SKUs, and watch your consistent catalog art direction come to life.
Tips for Maximizing Your Preset Workflow
- Categorize Your Presets: If you have many different styles, consider naming conventions that group them (e.g., "Studio - Bright," "Studio - Moody," "Outdoor - Urban," "Outdoor - Nature").
- Combine with Locked Models: For ultimate brand consistency, pair your presets with a specific virtual model whose identity you've locked. This ensures the same face and body type appear across all your product shots.
- Iterate and Refine: Don't be afraid to create multiple versions of a preset. You might have a base preset and then slight variations for different product categories.
- Review Regularly: Periodically review your saved presets to ensure they still align with your brand's evolving aesthetic. Delete any that are no longer relevant.
- Experiment with Prompts: While the core prompt is saved, you can always make minor tweaks to the prompt after applying a preset if a specific product requires a subtle adjustment (e.g., highlighting a unique feature of the garment).
Flashlook shoot presets are a game-changer for fashion brands and photographers seeking efficiency and consistency. By integrating this feature into your workflow, you can elevate your product photography, maintain a strong brand identity, and significantly reduce production time, allowing you to focus more on creative vision and less on repetitive tasks.
FAQ
What is a Flashlook shoot preset?
A Flashlook shoot preset is a saved collection of your preferred scene, style, and prompt settings within the Atelier. It allows you to quickly apply a specific visual art direction to multiple product shots, ensuring consistency across your entire fashion catalog.
What elements are saved in a preset?
When you save a preset, Flashlook captures your chosen background/environment, lighting conditions, specific aesthetic styles, and the textual prompt details that guide the AI in generating the image. This comprehensive capture ensures an exact replication of your desired look.
How do presets help with consistent catalog art direction?
Presets ensure that every product shot, regardless of when it was created, adheres to the same visual guidelines. This uniformity in scene, style, and model presentation creates a cohesive brand image, making your catalog look professional and well-curated.
Can I modify a preset after applying it?
Yes, after applying a preset, all its settings are loaded into your current shoot. You can then make minor adjustments to any of the parameters (scene, style, or prompt) for that specific product without altering the original saved preset. If you want to save the changes as a new preset, you would simply save it under a new name.
Is it possible to use presets with a specific virtual model?
Absolutely! For maximum consistency, it's highly recommended to combine your Flashlook shoot presets with a locked identity model. This ensures that not only the art direction but also the virtual model's appearance remains consistent across all your product SKUs, reinforcing brand recognition.
Where can I manage my saved presets?
You can access and manage all your saved Flashlook shoot presets within the 'Presets' section of the Atelier. This area allows you to view, apply, and delete your custom-created art direction styles.
Consistent AI fashion models for catalog and UGC. Open Studio · Browse AI Fashion models