 FLASHLOOK.AI
Mastering Your First Flashlook API Shoot: A Developer's Guide
Unlock the power of Flashlook's API to programmatically generate stunning on-model fashion photography. This guide walks you through creating products, selecting models, initiating shoots, and retrieving your final images.
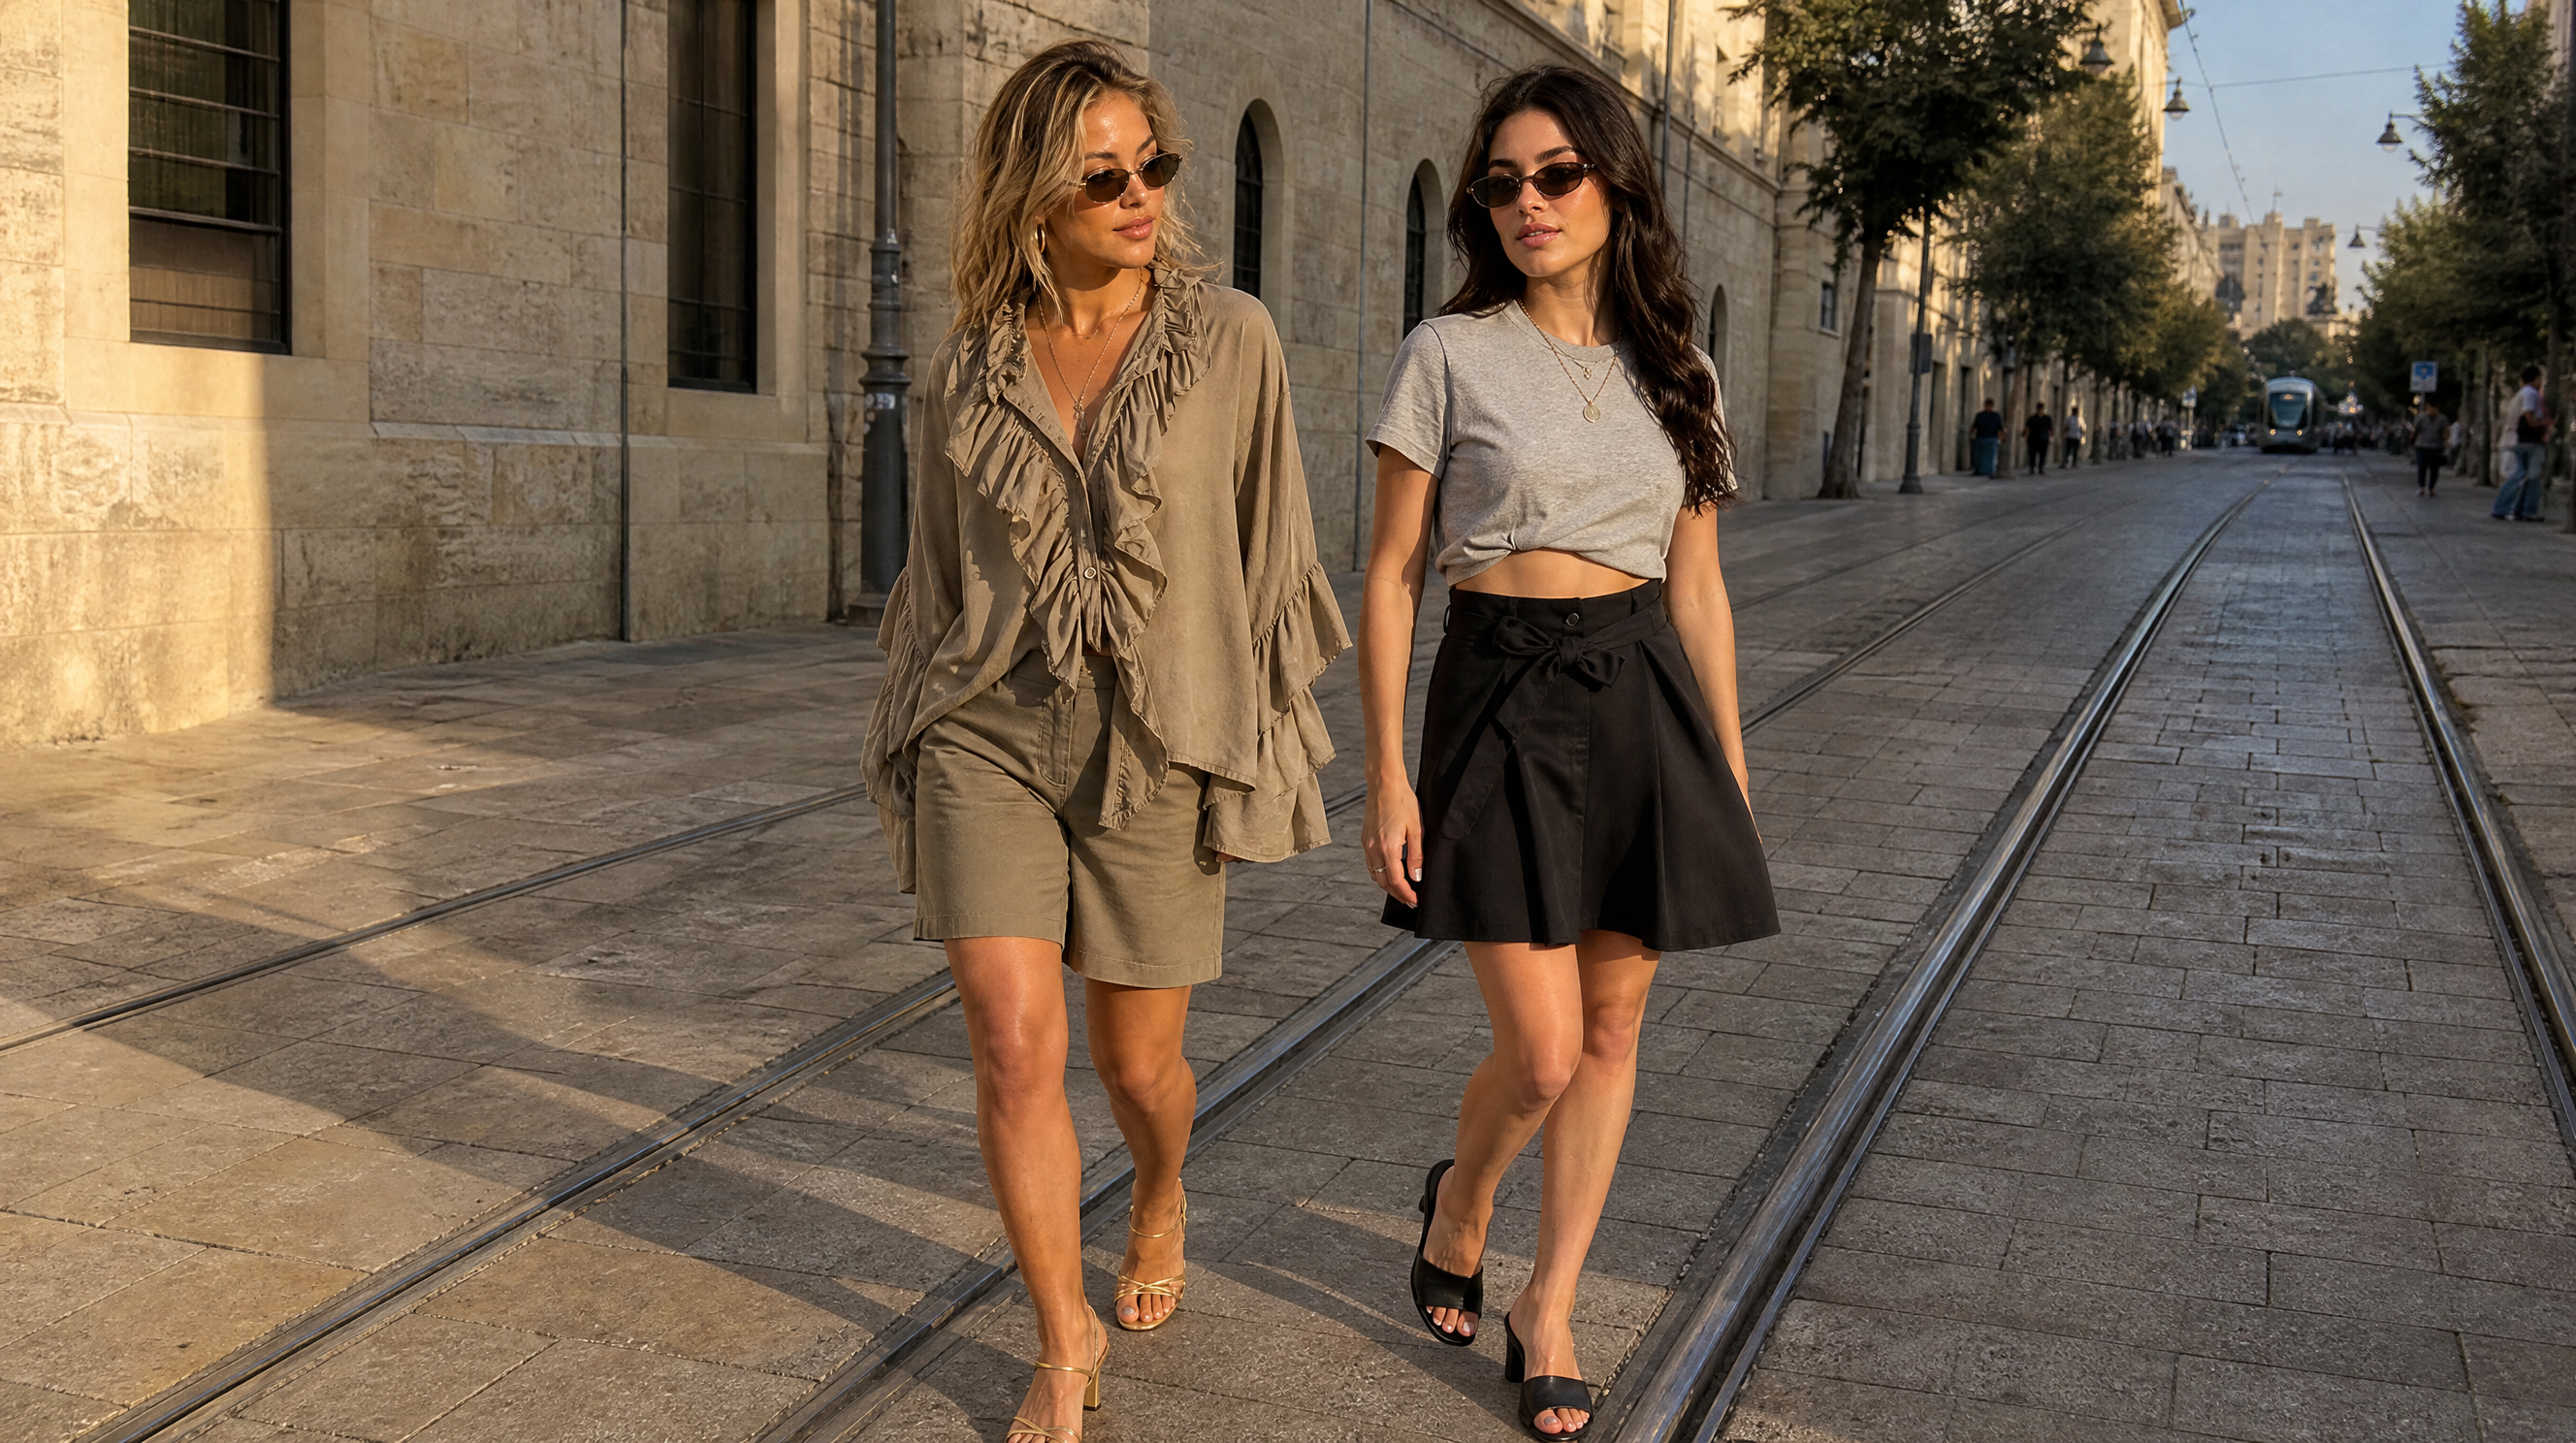
In today's fast-paced fashion industry, efficiency and scalability are paramount. Flashlook's developer API offers a robust solution for brands looking to automate their on-model product photography, streamline workflows, and rapidly generate high-quality visual content. This guide provides a step-by-step walkthrough for initiating your first Flashlook API shoot, transforming your product data into captivating fashion imagery.
Getting Started: API Access and Authentication
Before diving into the shoot process, you'll need to secure your API access. Flashlook's API operates under /api/v1 and requires authentication using a Bearer token. Your API key can be found in your account settings after signing up. Keep this key secure, as it grants access to your Flashlook resources and credits.
For detailed endpoint specifications and to explore the full range of capabilities, consult the Flashlook API documentation. It includes comprehensive OpenAPI specifications for easy integration.
Step 1: Create Your Product Programmatically
The foundation of any shoot is the product itself. The Flashlook API allows you to programmatically define your product, including its images and attributes. This is typically done via a POST request to the /api/v1/products endpoint.
What to include:
- Product Name: A clear identifier for your item.
- Product Description: Details that help the AI understand the garment.
- Product Images: High-quality, clear images of your product on a plain background. These are essential for the AI to accurately render the garment on a model.
- Category: Specifying the type of garment (e.g., 'dress', 't-shirt', 'jacket') helps the AI select appropriate poses and settings.
Upon successful creation, the API will return a unique productId. Store this ID, as it will be crucial for subsequent steps.
Step 2: List and Select Your Virtual Model
Flashlook offers a diverse range of virtual models, each with unique characteristics. To initiate an on-model shoot, you need to select the right model for your brand and product. You can browse available models by making a GET request to the /api/v1/models endpoint.
Considerations when selecting a model:
- Ethnicity and Appearance: Match the model's look to your target audience or brand aesthetic.
- Pose Availability: Some models may have specific poses or expressions that align better with your product's presentation.
- Style Compatibility: Ensure the model's overall style complements your product.
The API response will provide a list of models, each with a unique modelId. Choose the modelId that best fits your requirements.
Step 3: Initiate the On-Model Shoot
With your productId and modelId in hand, you are ready to start the on-model shoot. This is the core action of the Flashlook API shoot process. You'll make a POST request to the /api/v1/shoots endpoint, providing the necessary parameters.
Key parameters for starting a shoot:
productId: The ID of the product you created in Step 1.modelId: The ID of the virtual model you selected in Step 2.poseId(optional): If you have a specific pose in mind for the selected model, you can include its ID. Otherwise, the AI will select a suitable default pose.backgroundId(optional): To influence the scene, you can specify a background ID. If omitted, the AI will generate a suitable background.outputFormat(optional): Specify desired image format (e.g., 'jpeg', 'png').
Upon successful submission, the API will return a taskId. This taskId is your key to tracking the progress of your shoot.
Step 4: Poll the Task for Completion
Generating high-quality AI fashion photography is a computationally intensive process. The start_shoot endpoint initiates this process asynchronously. To retrieve your final images, you must poll the task status using the taskId obtained in the previous step.
Make periodic GET requests to /api/v1/tasks/{taskId}. The frequency of polling can vary, but typically checking every few seconds to a minute is sufficient. The task status will evolve through stages like 'pending', 'processing', and finally 'completed' or 'failed'.
What to look for:
status: 'completed': This indicates your shoot is finished and the images are ready.status: 'failed': If the task fails, the response will often include an error message explaining the issue, allowing you to debug and retry.
Step 5: Fetch the Final Image URL(s)
Once the task status is completed, the task response will include a galleryUrl or direct image URLs. This URL points to your generated on-model fashion photography.
What to expect:
galleryUrl: Often, this will lead to a gallery page where you can view and download all generated images for that shoot.- Direct Image URLs: In some cases, the API might provide direct download links for the high-resolution images.
Download and integrate these stunning, AI-generated images directly into your product catalog, marketing materials, or digital lookbooks. Remember that each successful shoot consumes credits, similar to using the Flashlook Studio interface. You can manage your credit usage and top up your account via the pricing page.
Best Practices for API Integration
- Error Handling: Implement robust error handling for all API calls to gracefully manage network issues, invalid inputs, or processing failures.
- Rate Limiting: Be mindful of API rate limits to avoid temporary blocks. Consult the API documentation for specific limits.
- Asynchronous Processing: Design your application to handle the asynchronous nature of shoot generation. Don't block your main thread waiting for results.
- Caching: Cache model lists or product data where appropriate to reduce redundant API calls.
- Testing: Thoroughly test your integration with various product types and model selections to ensure consistent results.
By following these steps, you can harness the power of the Flashlook API to create a seamless, programmatic workflow for generating high-quality API product catalog images, revolutionizing how your brand approaches fashion photography. The ability to initiate a programmatic on-model shoot at scale opens up new avenues for content creation and market responsiveness, making Flashlook an indispensable tool for modern fashion businesses.
FAQ
What is the Flashlook API?
The Flashlook API is a RESTful interface that allows developers to programmatically create virtual on-model fashion photography. It enables automation of product image generation, model selection, and shoot initiation, integrating directly into existing workflows.
How do I get an API key for Flashlook?
You can obtain your API key by signing up for a Flashlook account and navigating to your account settings. The key is a Bearer token required for authenticating your API requests.
What kind of product images should I upload for the API?
For best results, upload high-quality, clear images of your product on a plain or neutral background. This helps the AI accurately understand and render the garment on the virtual model.
How long does it take for a Flashlook API shoot to complete?
The completion time for a Flashlook API shoot can vary depending on complexity and current system load. Shoots are processed asynchronously, so you'll need to poll the task status until it indicates 'completed'.
Do API shoots consume Flashlook credits?
Yes, successful API shoots consume credits from your Flashlook account, similar to shoots initiated through the Flashlook Studio interface. You can monitor and manage your credit balance via your account or pricing page.
Consistent AI fashion models for catalog and UGC. Open Studio · Browse AI Fashion models